Tools and Materials Needed for Fitting a Wall-hung Shelf
Along the way, we'll also discuss how to make a rustic floating shelf, a popular design that adds a touch of natural warmth and charm to any room. Additionally, we’ll explore why SpryInterior is the perfect choice for all your shelving needs, especially if you're looking for handcrafted, eco-friendly designs.
Before we dive into the detailed process of how to fit a floating shelf, let's take a moment to ensure you have all the necessary tools and materials for the job. Having the right equipment will make the installation process smoother and more efficient. Here's a list of what you'll need:
1. Essential Tools
Drill and drill bitsLevel
Measuring tape
Screwdriver
Stud finder (optional, but highly recommended)
Pencil for marking
Wall plugs and screws

2. Materials for the Floating Shelf
Wall-hung shelf kit (including the shelf and brackets)Wall anchors (if you're not drilling into studs)
Sandpaper (if you are using raw wood for a rustic shelf)
Stain or paint (if desired)

Step-by-Step Guide on How to Fit a Floating Shelf
Now that you've gathered your materials, let's get started on learning how to fit a floating shelf. Follow these steps carefully to ensure a strong and visually appealing installation.1. Choose the Right Location and Height
The first step in installing floating shelves is selecting the perfect location. Floating shelves can be placed in a variety of rooms—from the living room and kitchen to the bathroom and bedroom. When choosing the location, consider the following:Functionality: Is the shelf being used for storage, display, or both? Ensure it's positioned at a height that's easy to reach if it will hold frequently used items.
Aesthetic balance: Shelves should complement the room’s overall design and not overpower other furniture or wall decor.

Use a pencil to mark the desired location on the wall. For most installations, a height of 4-5 feet from the floor works well for displaying items, but adjust based on your room and personal preference.
2. Locate the Studs for Stability
Finding the wall studs is crucial for securing your wall-hung shelf. If you mount your shelf into drywall without hitting a stud, it may not support much weight and could eventually fall. Use a stud finder to locate the studs and mark their locations with a pencil.
If you're not able to drill into studs, use heavy-duty wall anchors to provide additional support. These anchors expand behind the drywall and offer more grip than screws alone.
3. Mark and Drill Holes for the Brackets
Once you've marked the location for the shelf and located the studs, it's time to position the shelf's brackets. Most floating shelf kits come with metal brackets that attach to the wall and hold the shelf.
Hold the bracket up to the wall, align it with your markings, and use a level to ensure it's straight.
Mark where you'll need to drill holes for the screws.
Drill the holes where you've marked, making sure to use the appropriate drill bit size for your wall plugs and screws.
Insert the wall plugs if you're drilling into drywall, or directly insert the screws if you're mounting into a stud.
4. Attach the Brackets and Mount the Shelf
After drilling the holes, it’s time to secure the brackets.Screw the brackets into the wall using the appropriate screws. Make sure the brackets are tight and level.
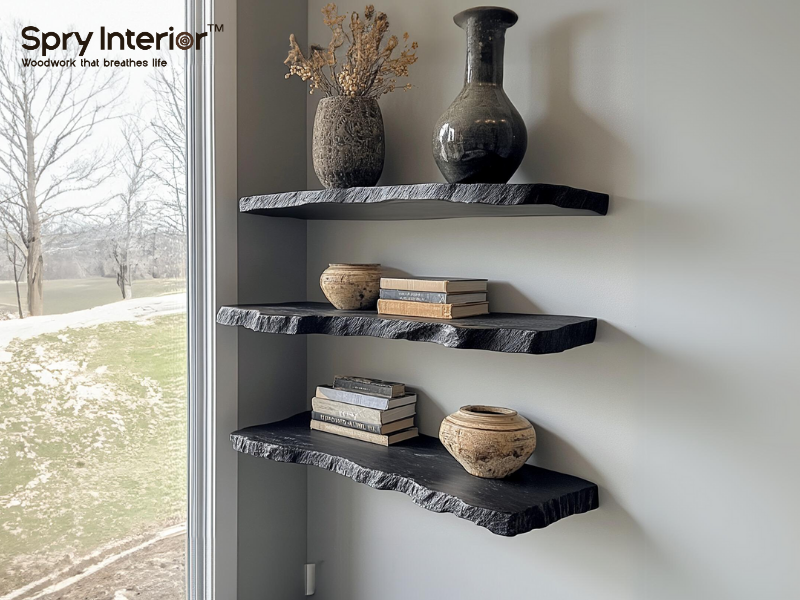
Once the brackets are firmly in place, slide the wall-hung shelf onto the brackets. Most floating shelves are designed to fit snugly over the brackets, creating the appearance that the shelf is floating on the wall.

At this point, use a level again to check that the shelf is perfectly horizontal. Adjust if necessary to ensure a clean, professional-looking installation.
How to Make a Rustic Floating Shelf
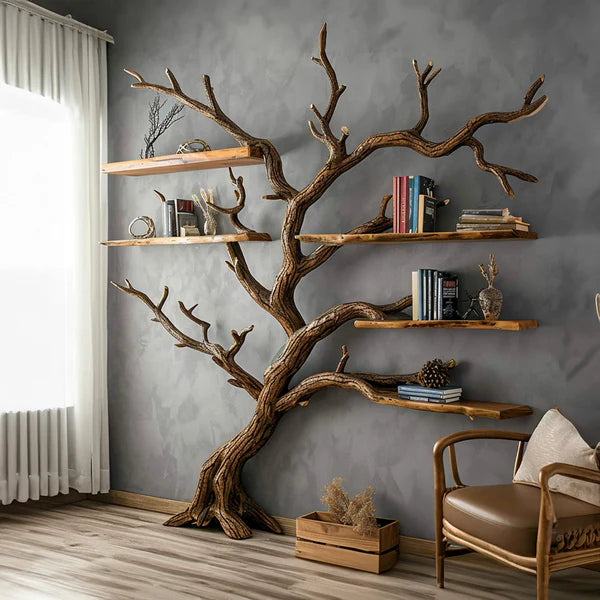
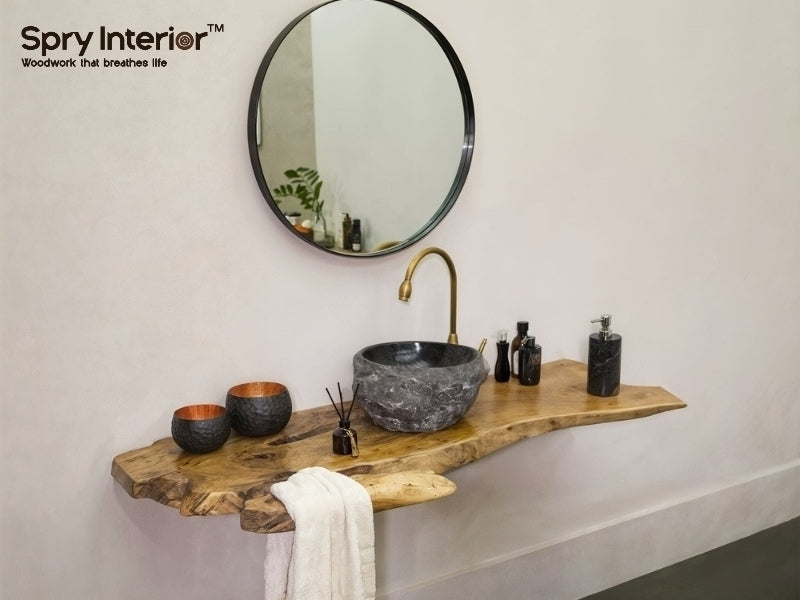
Now that you've mastered how to fit a floating shelf, let’s shift our focus to creating a rustic floating shelf. Rustic shelves are perfect for adding a touch of warmth and natural texture to your home. They work beautifully in a variety of spaces, from farmhouse-style kitchens to contemporary living rooms.1. Choosing the Right Wood for Your Rustic Shelf
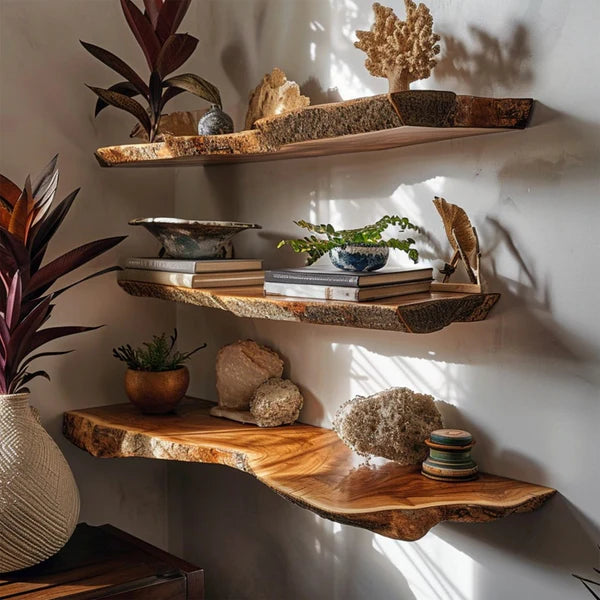
The key to achieving a rustic look is selecting the right type of wood. Reclaimed wood, barn wood, or raw timber with natural knots and imperfections are all excellent choices for a rustic floating shelf. The beauty of rustic shelves lies in their imperfect, weathered look, so don’t shy away from wood that has cracks, grain variations, or natural textures.
2. Sanding and Preparing the Wood
Once you’ve chosen your wood, sand it down to smooth out any rough edges or splinters while still maintaining the rustic character. You don’t want the surface to be overly polished, so avoid sanding it too much.3. Staining or Sealing the Wood
To enhance the rustic appearance of the wood, apply a wood stain in a shade that complements your room's decor. You can choose a light, natural stain for a more contemporary look or go with a dark, rich stain for a farmhouse vibe. After applying the stain, seal the wood with a clear coat to protect it from moisture and damage.
4. Mounting Your Rustic Floating Shelf
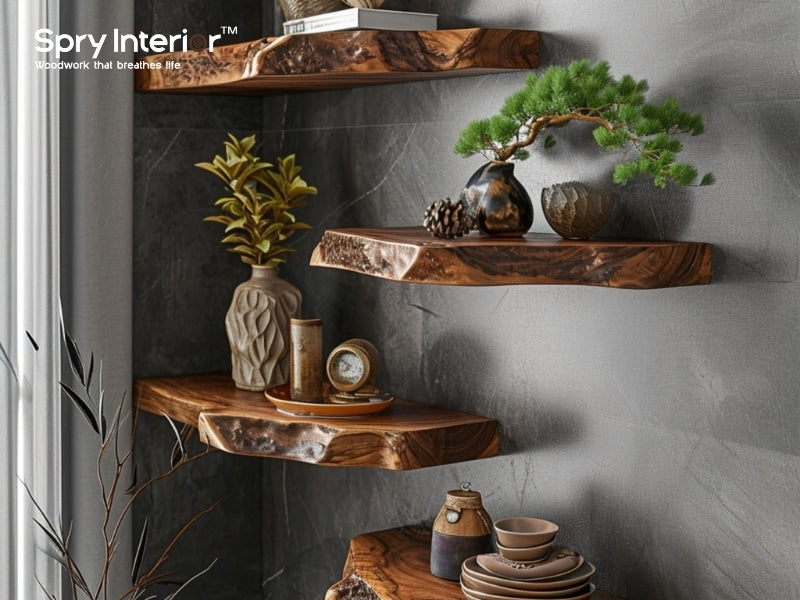
The process for mounting a rustic wall-hung shelf is similar to the steps outlined earlier for a standard wall-hung shelf. Use heavy-duty brackets that can support the weight of the wood, especially if you're using reclaimed or barn wood, which tends to be heavier. Follow the same procedure for locating studs, marking, drilling, and securing the shelf to the wall.Rustic floating shelves add character and charm to any room, and the handcrafted quality of our shelves makes them a perfect choice for anyone seeking both beauty and durability.
Why You Should Choose SpryInterior for Your Shelving Needs
When it comes to floating shelves, whether you're installing standard shelves or creating a rustic design, we stand out as the top choice for quality and craftsmanship. Here are the key reasons why you should choose us for your next shelving project:1. Handcrafted with Premium Materials
We specialize in handcrafted furniture and shelving made from high-quality materials. Each floating shelf is carefully constructed to ensure long-lasting durability and aesthetic appeal. Whether you prefer modern, sleek designs or rustic, reclaimed wood shelves, we offer a wide range of options to suit your style.
2. Customizable Designs
At SpryInterior, you can customize your floating shelves to meet your specific needs. Whether you’re looking for a specific wood type, size, or finish, we provide personalized solutions. This level of customization ensures that your shelves fit perfectly into your space and complement your existing decor.3. Eco-Friendly and Sustainable Practices
For homeowners who prioritize sustainability, SpryInterior is committed to using eco-friendly materials and sustainable practices. Many of their rustic floating shelves are made from reclaimed or sustainably sourced wood, making them a responsible choice for environmentally conscious consumers.


Leave a comment
This site is protected by hCaptcha and the hCaptcha Privacy Policy and Terms of Service apply.