Learning how to build a wall bookcase is a rewarding and creative project that combines functionality with aesthetics. A wall bookcase is not just a functional piece of furniture; it’s also a beautiful addition to any home. Whether you're a book lover or looking for an elegant way to display decorative items, mastering the process of building a wall bookcase allows you to craft a custom piece that perfectly fits your space and style.
With some tools, materials, and effort, you can create a wall bookcase that enhances your home decor and provides practical storage. In this blog, we will guide you through how to build a wall bookcase, explore various designs, and explain why Spry Interior is your trusted partner for home improvement solutions.
Tools and Materials Needed
Before you start building, gather the necessary tools and materials to ensure a smooth workflow.

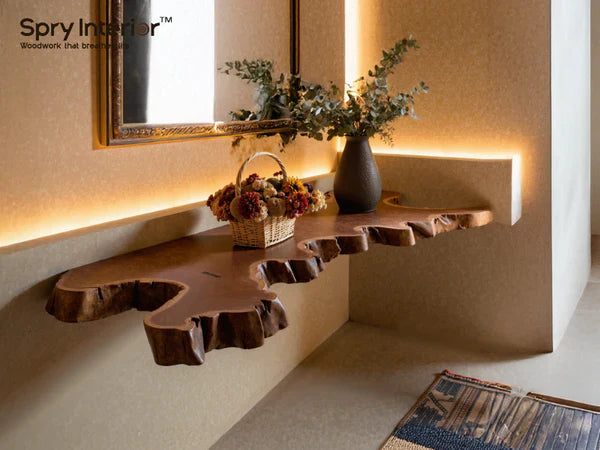
Buy now: Tree bookshelf solid wood bookcase
Tools:
- Measuring tape
- Circular saw or table saw
- Drill and screwdriver
- Level
- Sandpaper
- Paintbrush or roller
Materials:
- Plywood or solid wood for the shelves
- Wood screws
- Wood glue
- Primer and paint or wood stain
- Brackets (optional for additional support)
Having the right tools and materials is the first step to mastering how to build a bookshelf wall that’s sturdy and stylish.
Step-by-Step Guide: How to Build a Wall Bookcase
Creating a wall bookcase can seem intimidating, but by following these steps, you’ll have a stunning piece of furniture in no time.
Step 1: Plan Your Design
- Decide the dimensions of your bookcase.
- Sketch a design that fits your space and style preferences.
- Consider whether you want an open bookcase, a wall tree with shelves, or a traditional design.
Step 2: Measure and Cut
- Measure the wall space where the bookcase will be installed.
- Cut the plywood or solid wood into the necessary pieces for shelves, sides, and supports.
Step 3: Assemble the Frame
- Start by attaching the sides to the top and bottom panels using wood screws and glue.
- Use a level to ensure the frame is straight and sturdy.
Step 4: Add the Shelves
- Mark evenly spaced slots for the shelves on the side panels.
- Secure the shelves to the frame using wood screws or brackets for extra support.
Step 5: Sand and Finish
- Sand the entire structure to remove rough edges.
- Apply primer and paint or stain the wood to match your decor.
Step 6: Install the Bookcase
- Secure the bookcase to the wall using brackets or directly mount it for a built-in look.
- Test the stability before adding books and decor items.
By following these steps, you’ll master how to make a bookshelf on the wall that’s both functional and visually appealing.
Creative Wall Bookcase Designs
When learning how to build a wall bookcase, consider exploring creative designs to suit your space and personality.
Traditional Built-In Bookcase
A built-in tree bookcase is a timeless choice that seamlessly blends with your room’s architecture. It’s ideal for large spaces and provides a polished, custom look.

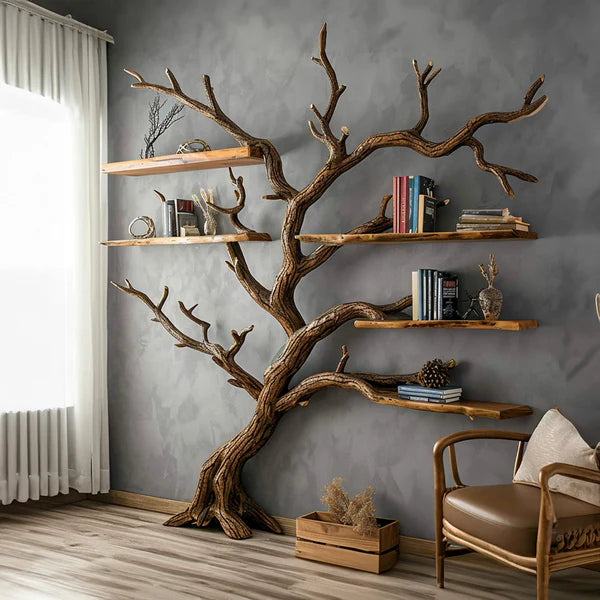
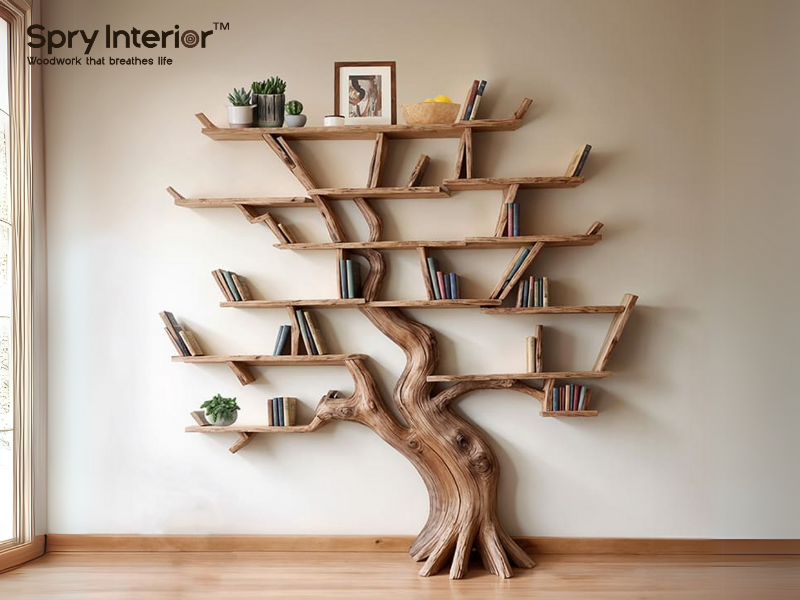
Wall Tree with Shelves
For a unique and whimsical touch, opt for a wall tree with shelves. This design features shelves branching out from a central “tree trunk,” making it a statement piece.

Modular Bookcase
A modular design offers flexibility, allowing you to rearrange or expand the bookcase as needed. This style works well in contemporary and minimalist spaces.
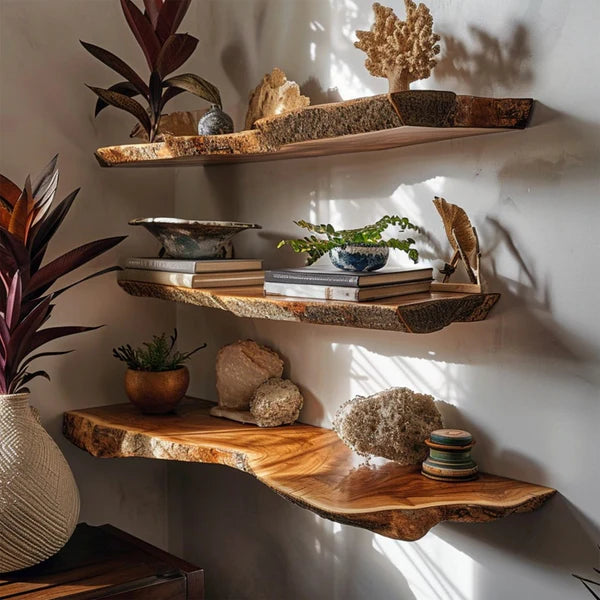
Floating Wall Bookcase
Floating shelves create a sleek and modern look. They are perfect for showcasing books and decor while maintaining an open and airy feel.

Styling Tips for Your Wall Bookcase
Once you’ve mastered how to build a bookshelf wall, styling it effectively can enhance its visual appeal.
Mix Books with Decor
Combine books with decorative items like vases, candles, or photo frames for a balanced and visually interesting display.
Use Color Coordination
Arrange books and decor by color to create a cohesive and stylish look.
Add Greenery
Place small plants or succulents on the shelves to bring life and freshness to your bookcase.
Incorporate Lighting
Install LED strip lights or small lamps to highlight your bookcase and create a cozy ambiance.
Why Choose Spry Interior for Your Wall Bookcase Needs?
Spry Interior is the ultimate destination for those looking to build or purchase a custom wall bookcase. Here’s why:
Premium Materials
Spry Interior provides high-quality materials, ensuring your tree bookcase is durable and aesthetically pleasing.
Custom Designs
From traditional built-ins to creative designs like a wall tree with shelves, Spry Interior offers customizable solutions tailored to your needs.
Expert Guidance
Their experienced team guides you through every step of the process, from selecting materials to installation tips.
Eco-Friendly Practices
Spry Interior is committed to sustainability, using eco-friendly materials and practices to reduce environmental impact.
Affordable Options
With competitive pricing, Spry Interior ensures you can create your dream bookcase without breaking the bank.
Whether you’re building your bookcase from scratch or looking for professional assistance, Spry Interior has you covered.
Conclusion
Learning how to build a wall bookcase is a rewarding project that enhances your home’s functionality and style. With the right tools, materials, and design inspiration, you can create a custom bookcase that perfectly fits your space and personality.
From timeless built-ins to unique designs like a wall tree with shelves, the possibilities are endless. When it comes to premium materials, expert guidance, and affordable solutions, Spry Interior is the partner you can trust. Start your DIY journey today and bring your vision to life with a beautiful wall bookcase!



Leave a comment
This site is protected by hCaptcha and the hCaptcha Privacy Policy and Terms of Service apply.