Installing a floating shelf can be a transformative project for any space. But, how do you install a floating shelf to ensure it’s secure and stable? In this guide, we’ll walk through the entire process of installing a floating shelf, from planning to final touches. Additionally, we’ll touch on related aspects such as how to fit floating shelves, how floating shelves stay in place, and how to design personalized floating shelves. With these steps, and by choosing quality brands, you’ll be well-equipped to create a beautiful, functional floating shelf setup.


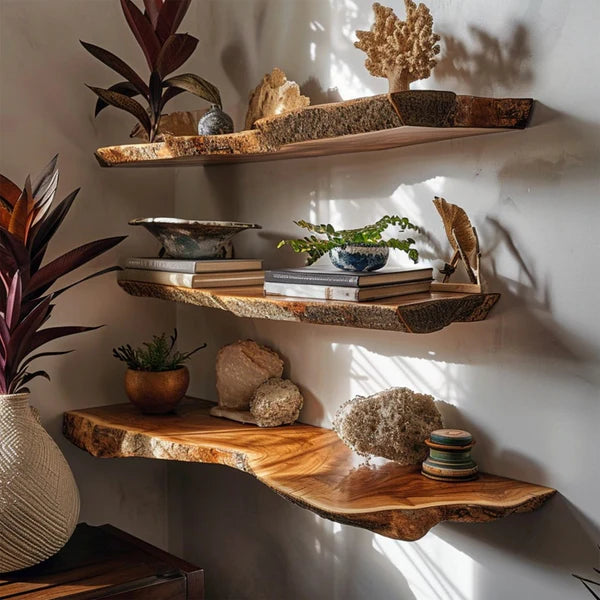
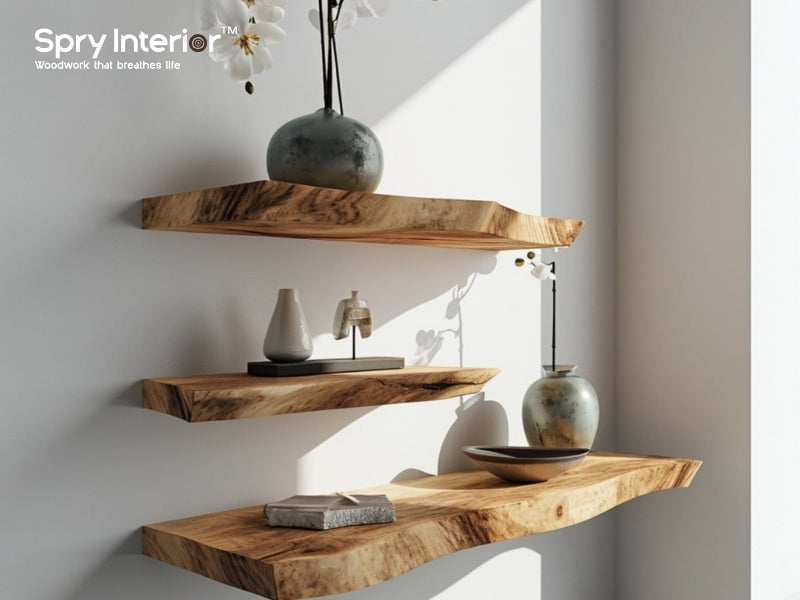
 Buy now: Wavy Floating Shelves Live Edge Oak Floating Shelf


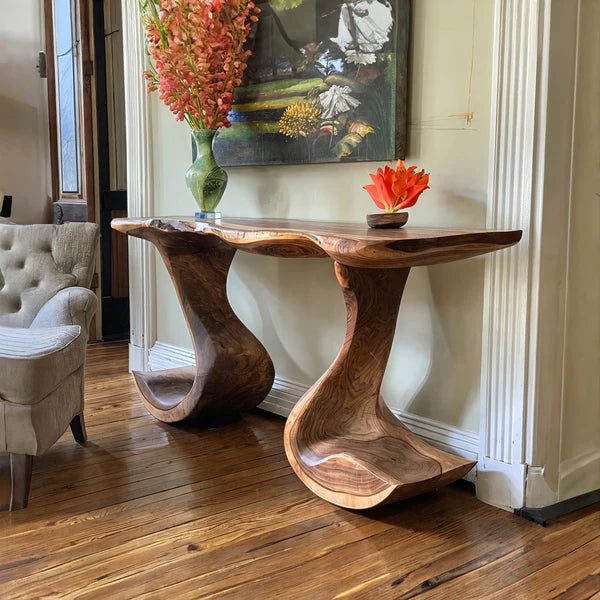
 Buy now: Walnut Live Edge Shelf Custom Shelf


Brands like us offer high-quality floating shelves and mounting solutions, making them a trusted choice for anyone looking to add these stylish storage options to their home. Explore SpryInterior for a variety of floating shelves that cater to every style, and transform your wall space into a beautiful display that’s as practical as it is elegant.
Step 1 – Planning and Choosing the Right Floating Shelf
Before getting started, it’s essential to choose the right floating shelf that meets your aesthetic and functional needs. Here’s what to consider:Measure Your Space
Start by measuring the wall space where you plan to install your floating shelf. Consider the shelf’s length, depth, and thickness based on the items you intend to place on it. Keep in mind that shelves need to fit comfortably on the wall without overwhelming the space.
Decide on Material and Style
Floating shelves come in various materials, such as wood, glass, and metal. For a warm, classic look, wood is often preferred. For a modern feel, metal or glass may be ideal. Brands like SpryInterior offer a wide range of materials and styles, allowing you to select a shelf that complements your interior decor while ensuring quality and durability.
Check the Wall Type
Understanding your wall type is crucial because it affects how you’ll install the shelf. Drywall, plaster, and brick all require different techniques and hardware for secure installation. Identifying the wall type early on will help you choose the appropriate tools and brackets, making the installation process smoother.Step 2 – How Do You Install a Floating Shelf on Drywall?
Once you’ve chosen the right shelf and planned its placement, it’s time to install it. Here’s a step-by-step guide to answer the question, how do you install a floating shelf on drywall:Mark the Placement
Using a level, mark the desired location of the shelf on the wall. This step ensures that your shelf will be straight and correctly positioned. You can also use painter’s tape to outline the shelf’s placement.
Locate the Wall Studs
To install a floating shelf securely, especially on drywall, it’s best to anchor the shelf to wall studs. Studs provide a strong foundation for the screws and help distribute the weight of the shelf and its contents. Use a stud finder to locate studs along the marked area and mark them lightly with a pencil.Drill Pilot Holes and Install Brackets
After marking the stud locations, drill pilot holes into the wall. Attach the shelf’s mounting brackets into the studs using appropriate screws. For shelves without studs, consider using heavy-duty wall anchors to provide additional support. Brands like us often include high-quality mounting hardware, ensuring that your shelf is securely fastened.
Step 3 – How to Fit Floating Shelves Perfectly
The fitting process is crucial to make sure the shelf sits flush with the wall and holds weight safely. Here are some tips on how to fit a floating shelf:
- Slide the Shelf onto the Brackets: Once the brackets are secured, carefully slide the floating shelf onto them. Ensure it’s aligned properly with the wall marks made earlier.
- Check for Levelness: After fitting the shelf, use a level to double-check that it sits straight. Adjust the brackets if necessary to achieve a level fit.
- Secure the Shelf: For added stability, some floating shelves come with small screws or clips to lock the shelf onto the brackets. These are especially helpful in preventing the shelf from moving over time.
How Floating Shelves Stay in Place?
Many people wonder, how does a floating shelf work without visible supports. The answer lies in the shelf’s design and mounting system:Hidden Brackets and Mounting Systems
Floating shelves are designed with hidden brackets that fit into the back of the shelf and extend into the wall. This structure distributes the shelf’s weight and allows it to appear as though it’s “floating” on the wall without visible supports.
Weight Distribution and Stability
The shelf’s weight is distributed evenly across the hidden brackets and mounting hardware. When installed properly, floating shelves are sturdy and can hold significant weight. However, it’s essential to follow weight recommendations provided by the manufacturer to avoid overloading the shelf.Selecting Quality Shelves for Optimal Support
The strength and stability of a floating shelf depend significantly on the quality of the shelf and its mounting system. High-quality brands like SpryInterior use durable materials and reliable mounting hardware, ensuring that your floating shelf will stay securely in place.
Step 4 – Customization: How to Make Custom The Floating Shelf
Creating custom floating shelves allows you to tailor the look, size, and style to fit your unique space. Here’s a guide on how to make custom floating shelves:Choose the Right Materials
For custom shelves, selecting the right material is crucial. Wood is a popular choice for DIY custom shelves, as it’s easy to work with and offers a classic, natural look. Opt for hardwoods like oak or walnut for durability, or consider reclaimed wood for a rustic feel.
Measure and Cut to Size
Measure your wall space to determine the shelf’s ideal length and depth. Using these measurements, cut the wood accordingly, ensuring that it’s the right size for your desired layout. Sand the edges for a smooth finish, making sure the shelf fits neatly against the wall.Apply Finishes and Mounting Hardware
Once cut, you can customize the shelf’s finish by painting, staining, or varnishing it to match your decor. After finishing, attach the mounting hardware, such as hidden brackets.
Why You Should Choose SpryInterior for Your Floating Shelf Needs
When it comes to selecting floating shelves, we are a brand that combines quality, style, and durability. Here’s why SpryInterior stands out for anyone looking to install or customize floating shelves:
- Superior Craftsmanship and Materials: We use high-quality materials like solid wood and premium metals, ensuring that each floating shelf is both stylish and long-lasting.
- Innovative Mounting Solutions: With sturdy mounting hardware and hidden bracket systems, SpryInterior floating shelves are designed for stability, making installation straightforward and secure.
- Customizable Options for Every Space: We offer a wide range of styles, sizes, and finishes, allowing you to find or create the perfect floating shelf for any room in your home.
- Eco-Friendly Practices: Committed to sustainability, SpryInterior sources materials responsibly, so you can feel good about your purchase.
- Timeless Style for Every Interior: We provide a selection of modern, rustic, and traditional styles, allowing you to choose a shelf that fits seamlessly into your home’s decor.
Conclusion
Knowing how do you install a floating shelf opens up a world of design possibilities for any room. By following these steps—from planning and choosing the right materials to fitting the shelf perfectly and even creating custom designs—you can install a floating shelf that enhances both style and function in your space. Additionally, understanding how floating shelves stay in place and how to fit floating shelves ensures that your installation is secure and long-lasting.Brands like us offer high-quality floating shelves and mounting solutions, making them a trusted choice for anyone looking to add these stylish storage options to their home. Explore SpryInterior for a variety of floating shelves that cater to every style, and transform your wall space into a beautiful display that’s as practical as it is elegant.


Leave a comment
This site is protected by hCaptcha and the hCaptcha Privacy Policy and Terms of Service apply.