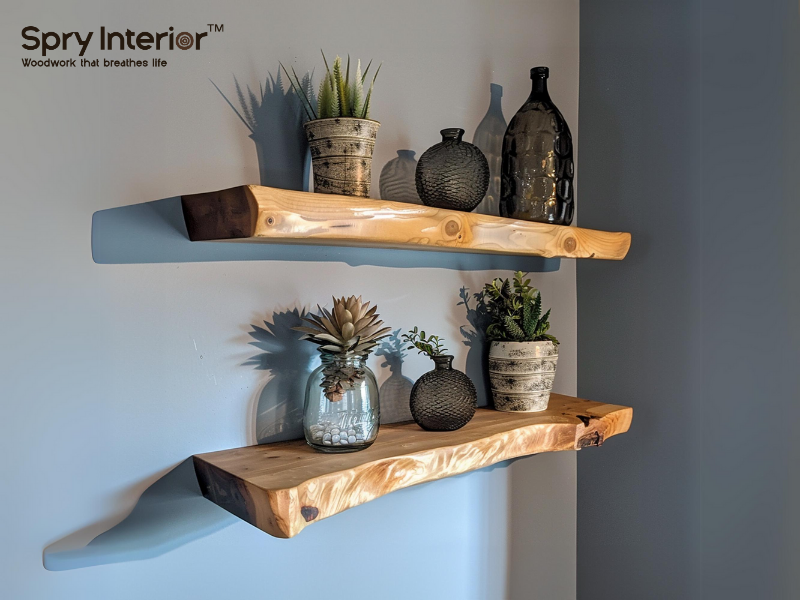
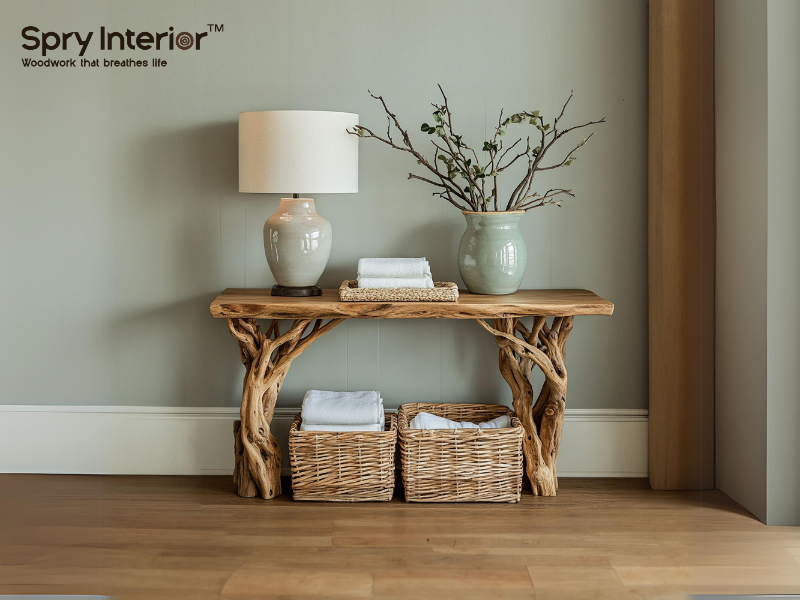
Garages are often the most cluttered and disorganized spaces in a home, but they don’t have to be. One of the best ways to reclaim your garage space is by installing DIY wall mounted bookshelves. These shelves not only provide a functional storage solution but also add a sleek, minimalist touch that helps make your garage look clean and organized. DIY garage floating shelves are a perfect weekend project for homeowners who want to maximize storage space without investing in bulky cabinets or expensive pre-made shelving systems. In this guide, we’ll walk you through everything you need to know about building your own floating shelves, from planning and material selection to construction and styling.
Planning Your DIY Garage Floating Shelves: Layout, Measurements, and Materials
Before jumping into the construction phase, careful planning is crucial for ensuring that your DIY floating shelves are both functional and durable. A well-thought-out plan will help you avoid common mistakes and ensure that your shelves are tailored to your specific storage needs.

Measuring Your Garage Space
The first step in planning your wall floating shelves is measuring the space in your garage where the shelves will be installed. Begin by identifying the walls that are best suited for shelving, typically the walls that are not obstructed by garage doors, windows, or large equipment. Use a measuring tape to get the height, width, and depth of the area you want to install the shelves. These measurements will guide the size of the shelves and ensure that they fit perfectly into your garage.
Consider how you want to use your shelves: Do you need extra space to store tools, paint cans, or seasonal items like holiday decorations? If so, adjust your measurements accordingly. For heavier items, make sure to DIY floating shelf plans that are wide and sturdy enough to bear the weight.
Choosing the Right Materials
Material selection is key when building DIY garage floating shelves. The right materials will ensure your shelves are sturdy and can handle the weight of the items you plan to store. For a garage setting, you’ll want to opt for durable materials that can withstand fluctuating temperatures and the heavier loads typical of a workspace.

- Wood: For the shelving itself, choose thick, sturdy wood like plywood, hardwood, or pressure-treated lumber. These types of wood are strong enough to support heavy tools, boxes, and other garage equipment.
- Brackets or support systems: For truly "floating" shelves, the hardware that secures the shelves to the wall is hidden from view, creating a streamlined look. You can purchase floating shelf brackets or build your own using metal L-brackets and wooden cleats.
- Screws and wall anchors: Make sure to use heavy-duty screws and wall anchors that are rated for the weight of the shelf and its contents. If possible, mount the shelves directly into wall studs for additional support.
Design and Layout Considerations
Once you've measured the space and selected materials, the next step is choosing the design and layout for your floating shelves. DIY shelving allows full customization to meet your garage’s needs. For organized storage, install shelves at varying heights to accommodate both tall items like ladders and smaller ones like toolboxes. You can opt for shelves spanning the entire wall or shorter ones in specific areas. Floating shelves provide a sleek, modern look by hiding supports, while an industrial style can be achieved by leaving brackets exposed or using metal hardware.
Constructing the Shelves: Step-by-Step Instructions for Building Durable Floating Shelves
With your plan in place, it’s time to start constructing your DIY garage floating shelves. This section will guide you through the process of cutting, assembling, and installing the shelves so they are sturdy and safe.
Cutting and Preparing the Wood

Start by cutting the wood for your shelves to the desired length and width using a saw. Make sure each piece is even and straight to ensure the shelves sit flush against the wall. After cutting, sand down the edges and surfaces of the wood to remove any splinters or rough areas. For a clean, professional finish, apply wood filler to any imperfections, then sand the surface again once it’s dry.
You can stain or paint the wood at this stage if desired, but since these are garage shelves, a simple clear sealant might be all you need to protect the wood from moisture and wear over time.
Installing the Floating Shelf Brackets

Next, install the floating shelf brackets or supports. For premade brackets, follow the manufacturer’s instructions. Mark the placement on the wall, ensuring they are level and evenly spaced. If using homemade hidden supports, mount wooden cleats to the wall for the shelf to slide over. For garages, use heavy-duty brackets or cleats to handle heavier items. Secure the brackets with heavy-duty screws, ideally drilling into wall studs for stability. If studs aren’t available, use strong wall anchors to prevent sagging or collapsing.
Attaching the Shelves to the Brackets
Once the brackets are installed, it’s time to attach the shelves. Gently slide the wooden shelves over the brackets or cleats, ensuring they are snug and level. If necessary, secure the shelves to the brackets with screws from underneath for added support.
Before moving on to the next shelf, test the stability by placing a few items on top to make sure the shelf is level and secure. If the shelf wobbles or tilts, adjust the brackets or add additional screws to stabilize it.
Organizing Your Garage with Floating Shelves: Maximizing Space and Functionality
Now that your DIY garage floating shelves are installed, it’s time to start organizing your garage. These shelves are not just about providing more storage space; they also offer an opportunity to declutter and improve the functionality of your garage.
Categorizing and Storing Items
The first step in organizing your garage is to categorize the items you plan to store. Group similar items together—such as tools, sports equipment, cleaning supplies, or holiday decorations—and assign each category its own shelf or section of the shelves. This makes it easier to find what you need quickly without digging through piles of unrelated items.

Once you’ve categorized everything, place the most frequently used items at eye level or within easy reach. Heavier or bulkier items should go on lower shelves, while lighter objects can be stored on higher shelves. For smaller items that can easily get lost, consider using storage bins or baskets to keep everything contained and organized.
Using Labeling Systems for Easy Access
To maintain an organized garage, labeling is key. Once you’ve placed your items on the shelves, use labels to identify the contents of storage bins, baskets, or containers. This makes it easy to find what you need at a glance and keeps everything neatly organized. Labeling is especially helpful for seasonal items or tools that you don’t use regularly, as it saves you from searching through the entire garage to find something specific.

You can use a simple labeling system with stickers and a marker, or opt for more durable options like engraved or printed labels. Clear, plastic storage bins are also a great choice for garage organization, as they allow you to see the contents without needing to open them.
Maintaining a Clutter-Free Garage
Building and organizing your DIY floating shelves ideas is only the first step in achieving a clutter-free garage. The real challenge is maintaining the organization over time. To keep your garage tidy, commit to regular decluttering sessions. Set aside time every few months to go through your shelves and remove items you no longer need or use.

Additionally, develop a system for returning items to their designated spots after use. This ensures that the garage remains organized and functional, preventing clutter from building up again.
Enhancing Your Garage Space with DIY Floating Shelves: Adding Style and Function
While functionality is the main focus when installing garage floating shelves, that doesn’t mean they can’t be stylish as well. Floating shelves provide a minimalist, modern look that can elevate the overall aesthetic of your garage, transforming it into a more inviting and organized space.
Customizing the Look of Your Floating Shelves
One of the benefits of building your own floating shelves is the ability to customize their appearance. For a clean, industrial look, consider leaving the wood in its natural state with a simple protective finish. If you want a more polished appearance, you can paint or stain the shelves to match your garage decor.
Incorporate metal accents or hardware for a more rugged, industrial vibe. For a more rustic look, consider using reclaimed wood with a weathered finish. The beauty of DIY projects is that you can tailor the look of your shelves to fit your personal style while still maintaining their functionality.
Combining Shelves with Other Storage Solutions
To maximize storage space in your garage, consider combining your floating shelves with other storage solutions like pegboards, hooks, or cabinets. Pegboards are great for hanging tools and smaller items, while hooks can hold larger objects like bicycles or garden tools. By integrating different storage methods, you can create a comprehensive organization system that keeps your garage tidy and clutter-free.
Keeping Safety in Mind
When designing and building your garage floating shelves, always keep safety in mind. Make sure that the shelves are securely attached to the wall and can support the weight of the items you plan to store. If you’re storing heavy objects, reinforce the shelves with additional brackets or supports to prevent accidents.
Also, consider weight distribution when placing items on the shelves. Avoid overloading any one shelf, as this could cause the shelf to sag or collapse. For added security, use anti-tip straps to prevent the shelves from becoming unstable.
SpryInterior: Transform Your Space with Premium Wall Mounted Shelves
At SpryInterior, we specialize in crafting high-quality, custom wall mounted shelves that add both style and function to any room. Our handcrafted shelves are designed with attention to detail, ensuring that every piece reflects the beauty and sustainability of natural wood. Whether you want a modern floating shelf or a rustic statement piece, SpryInterior offers a wide selection to suit your taste.
Custom Designs for Every Home
SpryInterior shelving products are available with fully customizable options, allowing you to choose the size, finish, and material that perfectly fits your space. Whether you’re looking to create an elegant display in your living room or need practical shelving for your office, our team will tailor a design to meet your specific needs.
Sustainable and Eco-Friendly Materials
We prioritize sustainability by using responsibly sourced wood for all our products. At SpryInterior, we believe that stylish furniture should also be environmentally friendly, ensuring that every wall mounted shelf we create is built to last while minimizing environmental impact.
Quality Craftsmanship with a Satisfaction Guarantee
Every product from SpryInterior is crafted with precision and care, ensuring durability and a premium finish. Plus, we offer free shipping and a 30-day return policy to guarantee your satisfaction, making it easy for you to enjoy beautifully crafted shelves that perfectly complement your home.
Conclusion: Building DIY Garage Floating Shelves for a More Organized Space
DIY garage floating shelves offer an affordable and customizable way to reclaim space and bring order to your garage. Whether you're storing tools, seasonal decorations, or sports equipment, these shelves provide the perfect solution for keeping everything in its place. By following this guide, you can create durable, stylish shelves that maximize storage space and transform your garage into a clutter-free, functional area. With careful planning, the right materials, and a bit of DIY know-how, your garage will soon be both organized and visually appealing.


Leave a comment
This site is protected by hCaptcha and the hCaptcha Privacy Policy and Terms of Service apply.